Tutorial: Connecting Berify Tools Within Your Berify Dashboard
Steps to Connect Berify Tools Through Your Dashboard
1. Navigate to Berify Tools
- Log in to your Berify Dashboard and click on "Berify Tools" located on the bottom left corner.
2. Log In to Your Berify Dashboard
- Ensure you’re logged in to the correct dashboard account where you manage your product tags.
3. Click "Connect"
- Select the “Connect” button for the team member or admin account you want to install Berify Tools for
4. Log In to Your Berify App Account
- Enter your Berify App login credentials.
5. Connect Your Accounts
- Click “Connect my account” to link your Berify Tools. Once completed, your dashboard will show that the Admin account is now connected.
6. Confirm Access
- Once confirmed, you will now see on your dashboard that this Admin account is connected to Berify Tools.
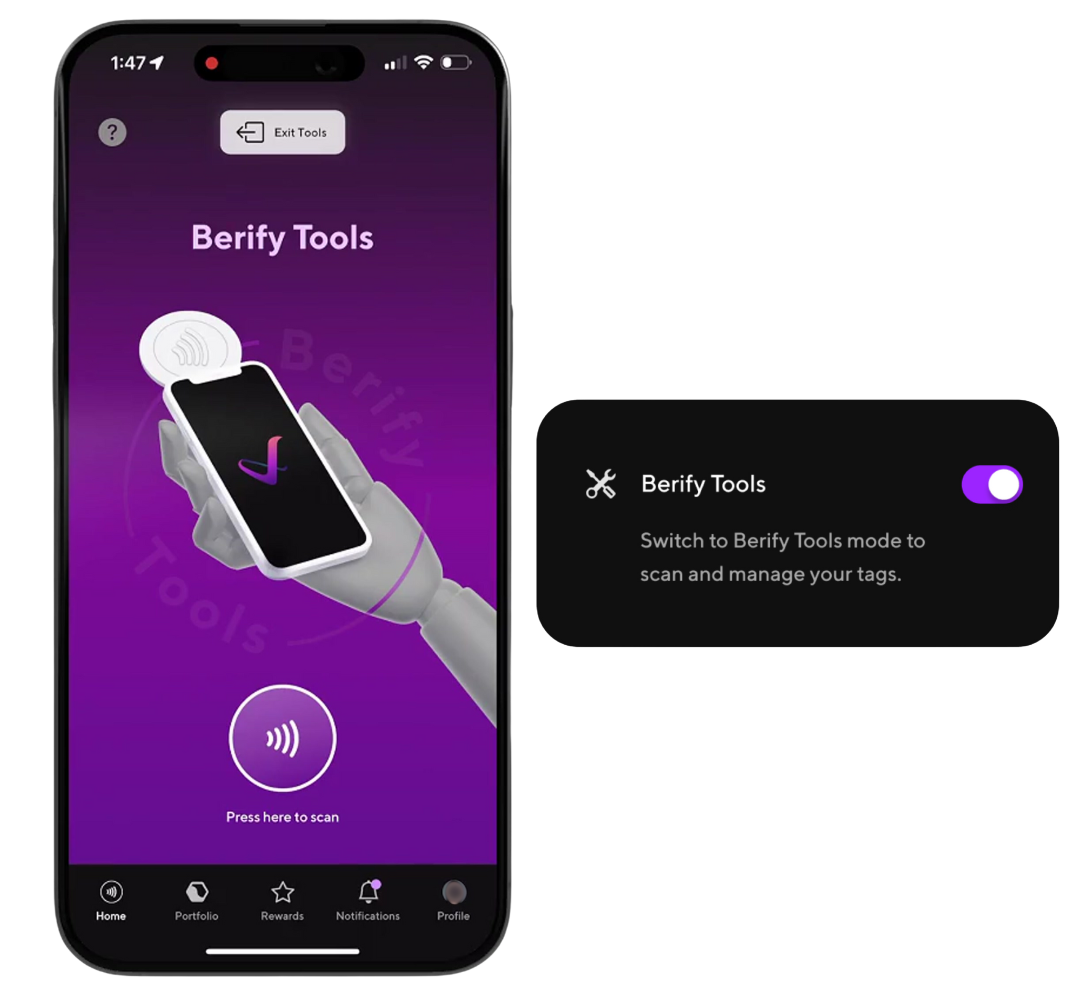
7. Toggle Tools on through the Berify App
- Once Berify Tools have been set up through your dashboard, you will need to activate them within the Berify App.
- On your mobile device, go to the Berify App and Log in
- Go to your profile by clicking on the Profile Icon on the bottom right corner
- You will see Berify Tools listed. Toggle the tools ON to activate.

By connecting Berify Tools, you gain the ability to streamline tag management, ensuring your products remain authentic, secure, and easy to track. Get started today and optimize your operations!
Tutorial: How To Use Berify Tools
Steps to Use Berify Tools
1. Navigate to the Profile Tab
- In the Berify App, go to the Profile Tab and toggle on the “Berify Tools” option.
2. Return to the Home Tab
- Navigate back to the Home Tab.
3. Scan the Tag
- Use your mobile device to scan the tag.
4. Select Tags
- Click on “Select Tags”.
5. Input Serial Numbers with “Select Range”
- Click on “Select Range” to input a serial number (S/N) to select and edit tags in bulk.
6. Enter the Range of Serial Numbers
- Scan the first tag and the last tag to define the range of serial numbers (S/N) using your mobile device.
7. Continue
- Click “Continue” to proceed.
8. Manage Tags
- Click on “Manage Tags” to access the tag management options.
9. Move Tags
- Click on “Move to”.
- Note: If tags are currently active, you must deactivate them before moving them to a batch.
10. Deactivate Tags
- Click on “Deactivate” to disable the tags.
11. Confirm Deactivation
- Click “Got it” once the tags are successfully deactivated.
12. Select a Batch
- Select or search for the name of the batch to which you would like to move the tags.
13. Confirm the Move
- Click “Confirm” to finalize the tag movement.